

How To: Invisible Fasten Off in Crochet
The invisible fasten off (also known as the invisible finish) is one of my favourite techniques when it comes to finishing off crochet pieces.

What is the Invisible Fasten Off
The invisible fasten off is a technique used to finish off a crochet piece neatly. It creates a false stitch which mimics the rest of your stitches and can be used in both continuous and joined rounds.
It’s especially useful when making colour changes in joined rounds or for finishing off open/flat pieces when making amigurumi.
Why Should You Use the Invisible Fasten Off?
The invisible fasten off eliminates any unsightly knots, bumps or ugly stitches making any join or jog between rounds less obvious and gives a smoother finish.
When Should You Use the Invisible Fasten Off?
Use it whenever you have an edge that will be visible. For example, limbs or spots in amigurumi and beanies or other clothing items.
LET’S GET STARTED!
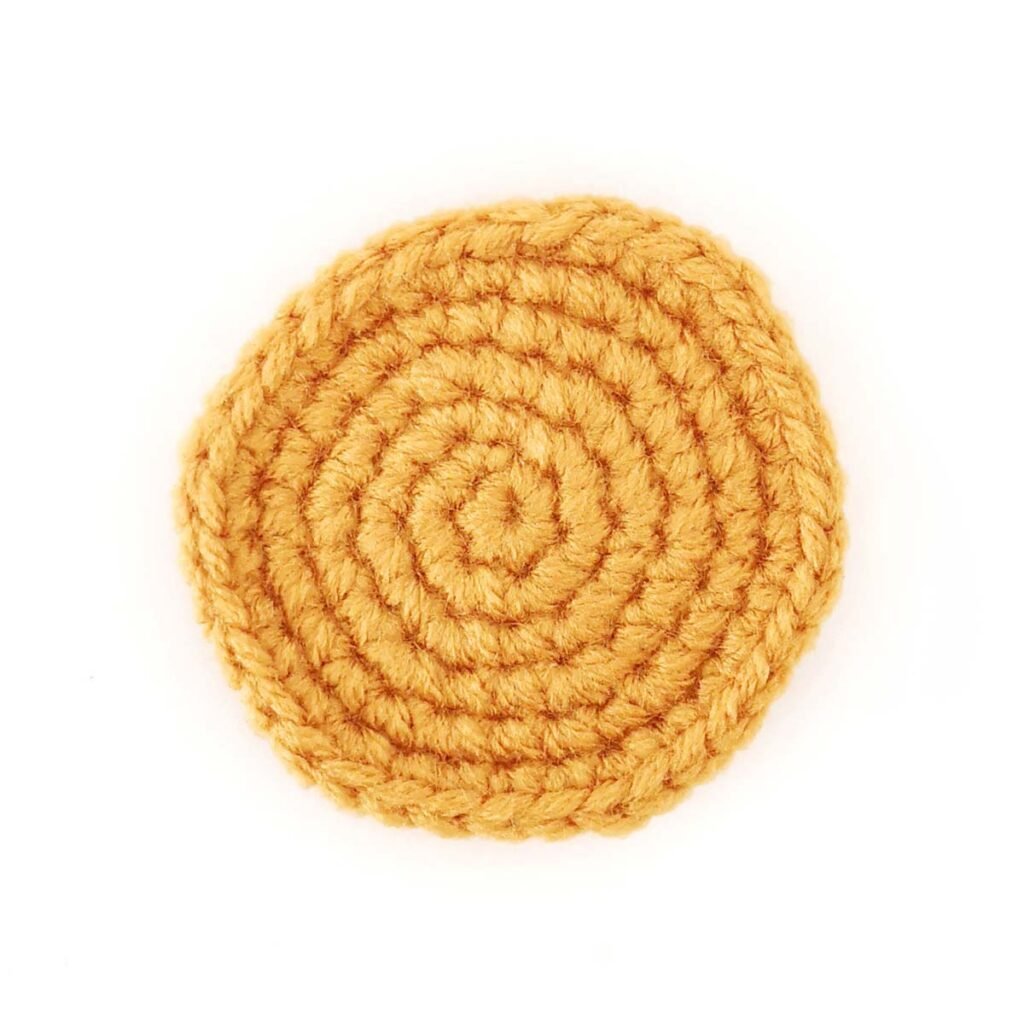
Invisible Fasten Off for Amigurumi
When working in continuous rounds without joining, you’re inevitably left with a noticeable jog between the start and the end of the round. The invisible fasten off minimises this jog and gives a smoother edge.
I like to start my invisible fasten off with a slip stitch as I find bringing the height of the round down first gives a better result. However, I have been known to skip the slip stitch (step 1) depending on the piece so try both and see what you like best.
Step 1: Once you’ve made all the required stitches of the last round, slip stitch into the next stitch. Cut the yarn (make sure to leave a long tail for sewing if needed) and pull the yarn tail through the last stitch.

Step 2: Thread the tail onto a yarn needle. Skip the first stitch directly after the slip stitch and insert the needle from front to back under both loops of the next stitch. Pull the yarn through.

Step 3: Insert the needle from front to back through the back loop of the slip stitch and the back loop of the stitch underneath it (that the slip stitch is worked into). Pull the yarn through.

Step 4: You’ve created a false stitch, tighten it by gently pulling on the yarn tail until it mimics the size of your other stitches. If you do not require a long tail for sewing, weave in end.
Invisible Fasten Off in the Round
When working in joined rounds, the traditional way of fastening off with a slip stitch leaves an unsightly bump. The invisible fasten off gives you a seamless finish and is especially useful when it comes to changing colours as you can fasten off one colour cleanly before joining and starting with the new colour. I’ve used double crochet in this example.
Step 1: Once you’ve made all the required stitches of the round, cut the yarn leaving a tail of approximately 6″ and pull the yarn tail through the last stitch.

Step 2: Thread the tail onto a yarn needle. Skip the first stitch (or starting chain if it counts as a stitch) at the beginning of the round and insert the needle from front to back under both loops of the next stitch. Pull the yarn through.
Skipping the first stitch of the round will maintain your original stitch count

Step 3: Insert the needle from front to back through the back loop of the last stitch of the round and the bar behind it. Pull the yarn through.

You’ve created a false stitch, tighten it by gently pulling on the yarn tail until it mimics the size of your other stitches. Weave in ends.

If you love this invisible fasten off tutorial, you might also like to check out these other tutorials: How to Close Amigurumi and How to Change Colours in Amigurumi.
not ready to try this yet?
Pin this post for later


This is an original crochet tutorial written for Stitch by Fay. Please don’t claim this tutorial as your own. If you wish to share this crochet tutorial, you may link to this post but please do not reprint it on your site.
Hi from Italy very nice and clear tutorial. I have a question : why I ended +one Stitch? For example pretend I made 12 DC in magic ring if I close like the tutorial and then count the stitches there are 13. Hope my english is good enough to let you understandHi from Italy very nice and clear tutorial. I have a question : why I ended with an additonal Stitch? For example pretend I made 12 DC in magic ring if I close like the tutorial and then count the stitches there are 13. Hope my english is good enough to let you understand
Hi! I understand what you’re saying. To maintain your stitch count, you’ll want to skip the first st (or ch if that counts as a st) and make the join in the next st. I hope that makes sense.
Yes! Thanks a lot
Very helpful, thank you!