

Free Angel Ornament Crochet Pattern
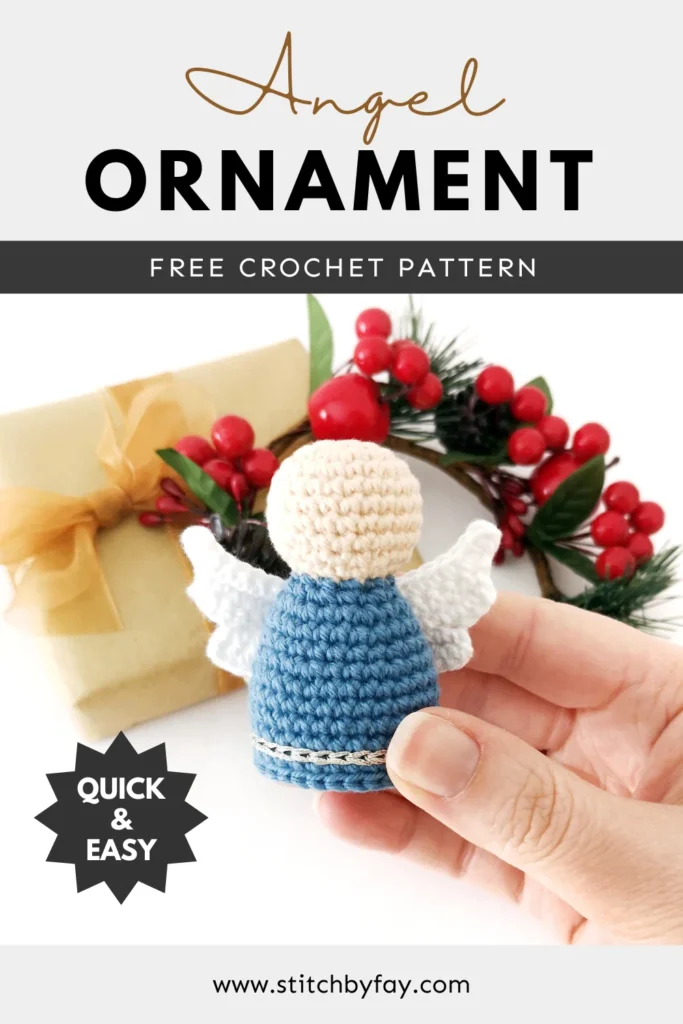
This small angel ornament crochet pattern was inspired by the old vintage wooden ornaments that I used to have as a child.

When I first started brainstorming for this design, I knew I wanted to keep it sweet and simple with a bit of nostalgia.
This crochet angel ornament is perfect for adorning your tree, adding to a nativity scene or giving as a thoughtful gift.
It works up quickly with minimal sewing and I opted to make it even simpler by not adding any facial features.
About the Pattern
This angel ornament crochet pattern is quick and easy with minimal sewing.
The head and the body are crocheted in one piece. We’ll crochet the head first, starting with a magic ring, before joining the yarn for the body using a round of leftover front loops.
The body features surface slip stitching for added detail and is left open and unstuffed. This allows the finished angel to also be used as a freestanding ornament or tree topper for a mini Christmas tree. You could even add a little bell inside.
The wings are worked separately before being sewn together and then sewn to the back of the body.

Recommended Yarn
I used Paintbox Yarns Cotton DK with a 2.5mm hook for this small crochet angel ornament and DMC metallic embroidery floss for the slip stitch detail.
To make larger decorations or tree toppers, try using thicker yarn and a larger hook.

Why You’ll Love This Angel Ornament Crochet Pattern
More Patterns
If you love this angel ornament crochet pattern, you might also like to check out these other Christmas patterns:


Angel Ornament Crochet Pattern
Prefer the PDF version?
where to buy
The ad-free PDF includes detailed instructions and photos as well as easy print pages.
Materials
- DK weight yarn in 3 colours – skin colour, body colour and white
(I used Paintbox Yarns Cotton DK in Light Caramel for the head and Paper White for the wings) - Metallic embroidery floss or contrasting yarn (I used DMC E168)
- 2.5mm crochet hook
- Polyester Fiberfill
- Stitch marker, yarn needle, scissors
Abbreviations (US Terms)
- BLO – back loop only
- ch – chain
- inc – increase
- invdec – invisible decrease
- sc – single crochet
- sl st – slip stitch
- st/s – stitch/es
- (…) – indicates stitch count at end of round
- […] – repeat the instructions in brackets
Special Stitches
Surface Slip Stitch
- Insert your hook from right side to wrong side where you would like your surface slip stitches to start.
- Place the new colour over your hook and pull through to the right side of your work.
- Insert your hook into the next stitch/hole.
- Yarn over and pull through your work and the loop that’s already on your hook to complete the stitch.
Useful Links
Finished Size
The finished angel measures approximately 2.5″ x 2.25″ (6.5 cm x 6 cm). Size may vary depending on tension and materials used.
Gauge
Gauge is not important in this pattern. Use a hook size to match your chosen yarn. Make sure that your stitches are tight enough to prevent stuffing showing through and adjust hook size if necessary.
Notes
- This pattern uses the traditional YO (yarn over) method.
- The head is worked in a continuous spiral, starting with a magic ring. Mark the first stitch of each round with a removable stitch marker.
- The body is worked off a round of leftover front loops. The ch 1 does not count as a stitch, start the first round in the same space and continue to work in a continuous spiral.
- The wings are worked around a starting chain in turned rounds, leaving some stitches unworked.
Pattern Instructions
Head (skin colour)
R1: 6 sc in magic ring (6)
R2: [Inc] x6 (12)
R3: [Sc, inc] x6 (18)
R4: Sc, inc, [2 sc, inc] x5, sc (24)
R5-8: [Sc] x24 (24) 4 rounds
R9: Sc, invdec, [2 sc, invdec] x5, sc (18)
R10: [Sc, invdec] x6 (12)
R11: [BLO sc] x12 (12)
Stuff firmly.
R12: [Invdec] x6 (6)
Cut the yarn leaving a tail and pull through the last stitch. Weave the yarn tail through the front loops only of the final round and pull gently to close. Hide the end inside the head.
Body (body colour)
Join body colour yarn in the first leftover front loop from R11 of the head by inserting your hook and pulling up a loop of yarn. Ch 1 and start R1 in the same front loop.
R1: Work the entire round in the leftover front loops – [sc] x12 (12)
R2: [Sc, inc] x6 (18)
R3: Sc, inc, [2 sc, inc] x5, sc (24)
R4-5: [Sc] x24 (24) 2 rounds
R6: [3 sc, inc] x6 (30)
R7-11: [Sc] x30 (30) 5 rounds
R12: [Sl st] x30 (30)
Fasten off invisibly and weave in ends.
Using metallic embroidery floss or a contrasting yarn colour, surface slip stitch around the bottom of the body between R10 and R11.
Wings (make 2, white)
note
The wings are worked around a starting chain in turned rounds, leaving some stitches unworked.
For more help with this section there is a premium pattern available with step-by-step photos.
R1: Ch 6, sc in 2nd ch from hook and next 3 chs, 5 sc in last ch. Work 2 sc on other side of ch – 2 sts left unworked (11)
R2: Ch 1, turn. 3 sc, inc in next 3 sts, 5 sc (14)
R3: Ch 3, turn. Sc in 2nd ch from hook and next ch, 12 sc – 2 sts left unworked (14)
R4: Ch 1, turn. 2 sc, inc in next 3 sts (8)
Fasten off invisibly, leaving a long tail on one wing for sewing. Weave in the end on the other.
Assembly
- Put the wings down in front of you aligning them so they look like the image below. Make note of where the wings meet as this is where you’ll be sewing them together. Place them one on top of the other matching the edges and whip stitch together over 3 stitches.


- Open the wings out and sew to the center of the angels back where they are joined together. Weave in ends.
- Add a hanging loop to the top of the head if desired.
not ready to make this yet?
Pin this post for later
Explore More Crochet Patterns
After you crochet this angel ornament, here are some more crochet patterns to try:
What’s Next?
Invitation to our Private Community
We hope you enjoyed this pattern. Come and hang out in our Stitch by Fay Community. We created this space for you to share pictures, ask questions and support each other.

This pattern is for personal use only and may not be copied, reproduced, altered, published or distributed in any format (including video). If you wish to share this pattern, you may link to this pattern but please do not reprint it on your site.
You can sell finished products made from this pattern in small quantities. Do NOT use our photos as your sale photos.
Just a big thank you for this wonderful pattern, it will be perfect for my 2020 new little nativity set.
Pauline
I’m so glad you like it! I’d love to see your nativity set when you’re done 🙂
i adore this angel. could you do a knitted version please as i do not crochet
I’m so glad you like it but unfortunately I don’t knit, sorry!